3D Printing Personal Sculptures: From Digital to Physical
Discover all the technical and artistic details of creating personal sculptures at home or in your studio by combining digital modeling software with 3D printing technology.
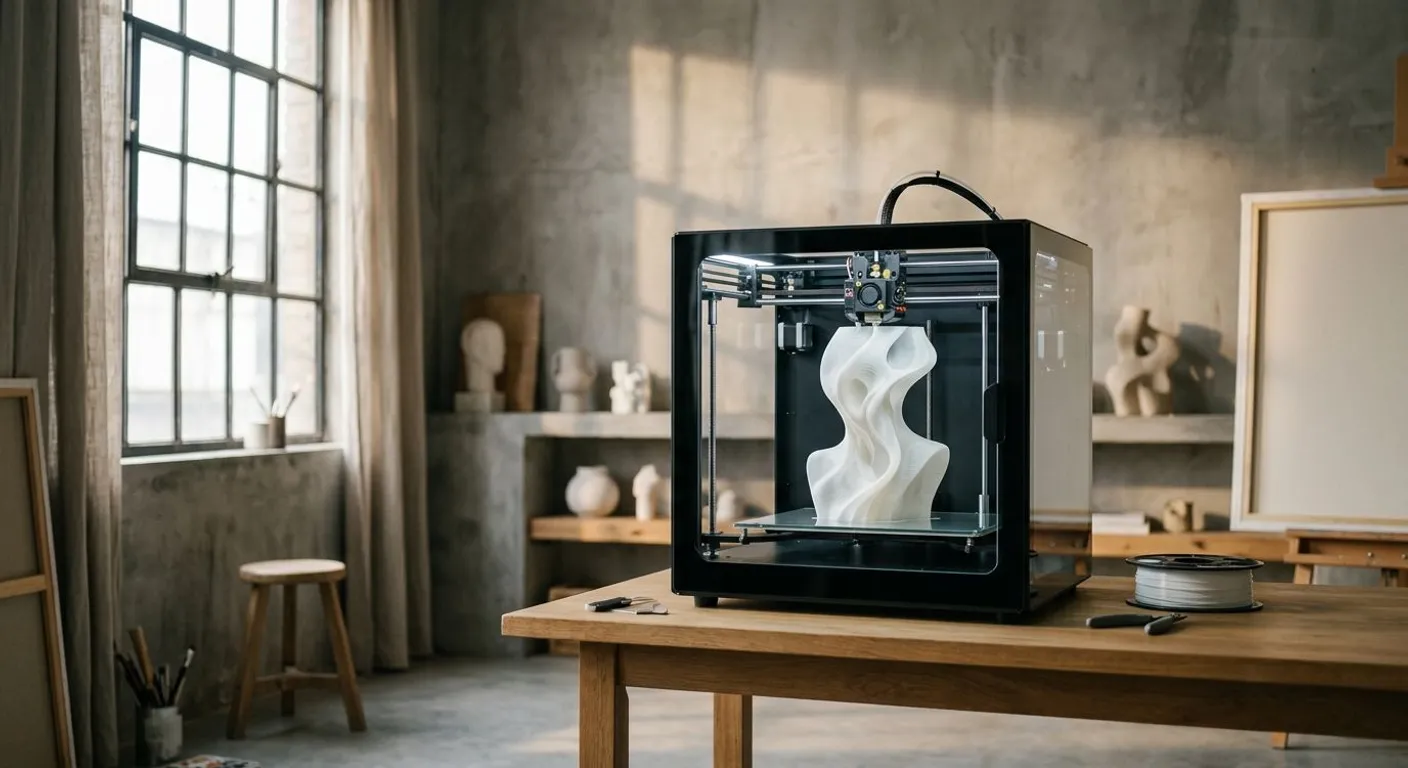
The art world is undergoing a unique transformation alongside the advancement of digital tools and additive manufacturing technologies. Traditional clay modeling or marble carving techniques are giving way to digital sculpting software and desktop 3D printers. This technological convergence enables artists and enthusiasts to transform complex forms from their imagination into tangible objects right in their own living spaces.
Designing sculptures with 3D printing is not merely a technical process; it is an interdisciplinary journey where digital craftsmanship meets aesthetic understanding. Combined with the "undo" flexibility offered by the digital environment and limitless geometric freedom, producing personalized artworks becomes more accessible than ever.
Fundamentals of Digital Sculpting: Software Selection
The first step to owning a physical sculpture is creating volume and form in digital space. Digital sculpting relies on the principle of pulling, pushing, smoothing, and carving a virtual mass of clay on the screen using brushes.
Here are prominent digital modeling software options tailored to different skill levels and needs:
- Blender: Completely free and open-source, Blender excels with its powerful digital sculpting module. It is an excellent choice for organic forms and detailed bust designs.
- ZBrush: Considered the industry standard, this software is unrivaled in processing micro-details and pore textures containing millions of polygons.
- Nomad Sculpt: Running on iPad and Android tablets, this mobile application offers a portable studio experience. It delivers a highly intuitive user experience with touch screen and stylus support.
- Tinkercad: A simple, browser-based option for those who want to start with more minimalist, geometric, and architecturally focused sculpture designs.
Hardware selection plays a critical role in gaining fluidity in model making and making brush strokes feel natural. Choosing the right digital drawing tablet allows you to leverage pressure sensitivity while shaping virtual clay, significantly speeding up the production process.
From Design to Slicing: Preparing the Sculpture for Printing
For an aesthetic model on the screen to print smoothly on a 3D printer, it must adapt to certain engineering rules. This stage is called slicing.
Volumetric Integrity (Watertight / Manifold)
Your digital model must have a completely closed volume inside. Open holes on surfaces or intersecting erroneous polygons prevent the printer from distinguishing between interior and exterior space.
Support Structures (Supports)
3D printers cannot print in mid-air. Temporary support columns must be generated for extended arms, under the chin, or sharp overhangs on your sculpture. In addition to automatic supports, adding manual supports that will not damage the aesthetic front surface of the model preserves surface quality.
Infill Density and Wall Thickness
Printing a sculpture completely solid leads to both material waste and prolonged print times. Typically, an infill density of 10%–20% and an outer wall thickness of 3–4 layers provide an excellent balance of strength and lightness.
Printer Technologies: FDM or Resin (SLA)?
There are two main 3D printing technologies used in personal sculpture creation. Your choice depends on the scale and detail level of the sculpture you wish to create.
| Feature | FDM (Fused Filament) | SLA/DLP (Light-Cured Resin) |
|---|---|---|
| Detail Precision | Medium (Layer lines are visible) | Ultra High (Smooth surfaces) |
| Build Volume | Generally larger (20-40 cm+) | Generally smaller (10-20 cm) |
| Material Variety | PLA, PETG, ABS, Wood-filled | Standard, Flexible, High-Detail Resins |
| Post-Print Cleaning | Easy (Simply remove supports) | Demanding (Isopropyl alcohol wash and UV curing) |
| Intended Use | Large-scale, minimalist/modern sculptures | Small-scale, highly detailed miniatures and busts |
Eco-Friendly Approaches in Material Selection
Minimizing environmental impact while engaging in artistic production is a fundamental part of modern design philosophy. PLA (Polylactic Acid), the most common material used in FDM printers, is a biodegradable thermoplastic produced from renewable resources such as cornstarch and sugarcane.
Furthermore, sculptures printed with wood-dust additive filaments deliver a genuine wood scent and texture when sanded. Reducing waste and turning to eco-friendly raw materials directly aligns with the vision of using sustainable art supplies.
Post-Processing and Surface Finishing
A sculpture coming off a 3D printer is not yet considered finished. Surface finishing operations are what make the work look like a true art object rather than an industrial plastic part.
- Support Clean-up: Support structures are carefully separated from the body using flush cutters and tweezers.
- Sanding: To eliminate layer lines in FDM prints, progressive wet sanding is applied starting from 220 grit up to 2000 grit.
- Primer Application: High-build spray primer fills micro-scratches on the surface and prepares a smooth base for paint adhesion.
- Coloring and Effects: Using acrylic paints, washes, and dry brushing techniques, the sculpture is given a bronze, marble, stone, or aged metal appearance.
- Protective Varnish: Matte or glossy spray varnish protects the paint against external factors and UV rays.
Displaying and Protecting Your Artwork
The most critical element to highlight the artistic value of your carefully designed and printed personal sculptures is proper display. The interplay of light and shadow over the sculpture's contours emphasizes details created during digital modeling. To protect your works from dust while turning them into aesthetic focal points, you can benefit from principles of display solutions for collectors.
3D printing technology gives a new dimension to traditional sculpture art rather than destroying it. Freely shaping your ideas in a digital environment and making them tangible in the physical world will take your personal art production to a whole new level.
Resources
Frequently Asked Questions
Is drawing talent required to design sculptures with 3D printing?
While traditional drawing ability provides an advantage, it is not essential. Thanks to volumetric brushes, symmetry modes, and preset forms in 3D software, anyone who develops spatial awareness can design sculptures.
Which type of 3D printer should be selected for personal sculpture production?
Resin (SLA) printers are better suited for detailed human faces, miniatures, and intricate textures, while FDM printers are more appropriate for abstract, large-sized, or decorative home sculptures.
Can a 3D printed plastic sculpture be given a marble or bronze appearance?
Yes. After sanding and priming, special acrylic painting, aging, and metallic effect techniques can give plastic the appearance of marble, bronze, or cast iron.
How long does 3D sculpture design take?
The design process takes between 2 hours and several days depending on the complexity of the model. Printing time can range from 4 hours to 30 hours based on the sculpture's size and printer type.
This content was researched and prepared by the İlgi Alanları editorial team and reviewed for accuracy and readability before publication. Information on health, finance and investment topics is general in nature and does not replace professional advice.