Handmade Candle Making Guide: Make Your Own Candles at Home
Making candles with your own hands is both an enjoyable creative hobby and one of the best ways to create a personalized atmosphere. This guide will help you design and produce your own candles, from beginner to advanced levels.
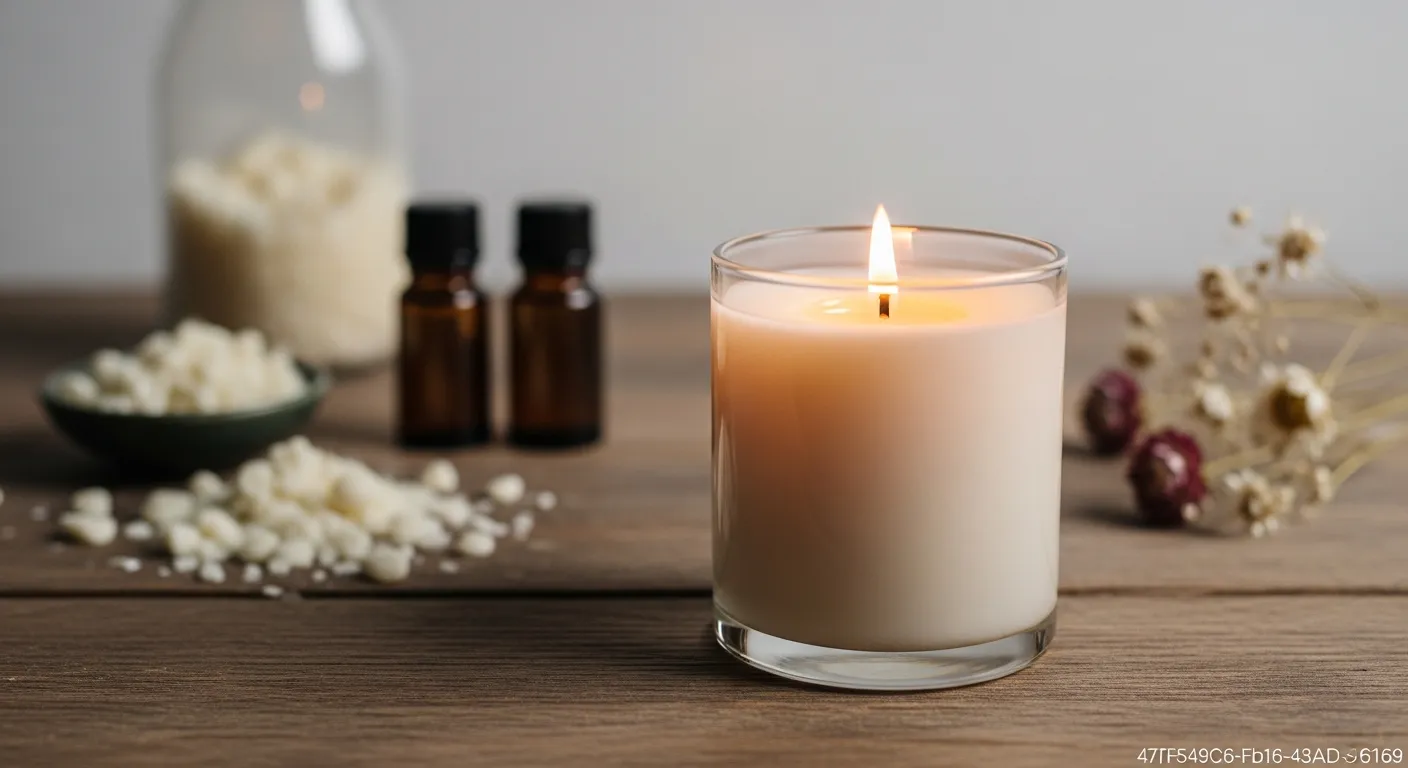
The idea of making your own candles is an appealing way to fill your home with unique scents and aesthetics, while also unleashing your creativity. This guide will help you understand the intricacies of candle making and confidently start your own project.
Why Make Your Own Candles?
Handmade candles offer many advantages over store-bought products:
- Personalization: You can choose scents, colors, containers, and even wick types entirely to your taste. This allows you to create a special atmosphere that matches your home decor or mood.
- Control: You have complete control over the ingredients. You can determine everything from the type of wax used (e.g., natural soy wax) to the quality of essential oils. This is especially important for those with sensitivities or those seeking more eco-friendly options.
- Cost-Effectiveness: While there's an initial investment, buying materials in bulk can be more cost-effective in the long run compared to ready-made candles.
- Gift Idea: Candles you make yourself offer a thoughtful and special gift alternative for your loved ones. The personal touch increases the value of the gift.
Essential Materials and Tools
The right materials and tools are crucial for a successful candle making experience:
- Candle Wax: Varieties include soy, paraffin, beeswax, or coconut wax. Your choice affects your candle's burning characteristics and scent throw.
- Wick: Choosing the correct wick, suitable for the wax type and container diameter, is critical for the candle to burn properly. Cotton, wood, or special core wicks are available.
- Candle Containers: You can use various containers such as heat-resistant glass jars, ceramic cups, or metal tins. The width of the container's opening directly affects wick selection.
- Fragrance Oils (Essential or Perfume): Used to add scent to your candle. Quality fragrance oils provide a stronger and longer-lasting aroma. Essential oils are generally a more natural option, while perfume oils offer a wider range of scents.
- Candle Dye: Can be in liquid or solid form. It enhances the aesthetic appearance of the candle.
- Heat Source: The double boiler method (boiling water in one pot and placing another heat-resistant container inside it) is the safest way to melt wax.
- Thermometer: Necessary for melting wax at the correct temperature and adding fragrance/dye. This prevents scent loss and ensures proper solidification of the candle.
- Stirring Stick: Used to mix the wax and added components.
- Wick Holder: Ensures the wick stays centered while the candle solidifies. Simple tools like clothespins or wick clips can do the job.
Candle Wax Types Comparison
Different wax types affect the performance and overall experience of your candles. Here's a comparison of the three most popular wax types:
| Feature | Soy Wax | Paraffin Wax | Beeswax |
|---|---|---|---|
| Source | Soybean oil | Petroleum derivative | Beehive |
| Burn Time | Slower, long-lasting burn | Faster burn | Very slow, long-lasting burn |
| Scent Throw | Medium to good, natural and subtle | Strong and intense scent throw | Subtle, natural honey and light floral scent |
| Cleanliness | Burns cleaner, leaves less soot | May have a higher tendency to produce soot | Burns very clean, can improve air quality |
| Pour Temperature | Low (generally 45-50°C) | High (generally 70-80°C) | High (generally 80-85°C) |
| Ease of Use | Easy to work with for beginners | Good starting wax for beginners | Can be slightly more challenging to work with |
| Price | Slightly more expensive than paraffin | Most affordable option | One of the most expensive options |
Step-by-Step Handmade Candle Production
Here's a simple guide to making your own candle:
- Preparation: Protect your workspace with newspaper or old cloths. Keep all your materials within reach. Ensure your containers are clean and dry.
- Wick Placement: Secure the metal base of the wick to the center of the candle container with strong adhesive or a special wick sticker. Secure the top of the wick to the rim of the container with a wick holder to keep it upright. Ensure the wick is taut and centered.
- Melting the Wax: Slowly melt your chosen candle wax using the double boiler method. While the water boils, wait for the wax in the upper container to melt completely. Avoid exposing the wax directly to flame, as it may burn or its chemical structure may degrade. Continuously monitor the temperature with a thermometer.
- Adding Fragrance and Color: Once the wax is fully melted and reaches the specified pouring temperature (varies by wax type, generally around 80-85°C, may be lower for soy wax), remove it from the heat source. Allow it to cool for a few minutes (fragrance addition temperature is usually around 70-75°C). Then, add your chosen fragrance oil and candle dye. Adding fragrance oils at the correct temperature minimizes scent loss. Stir thoroughly for about 2 minutes.
- Pouring into Container: Slowly and carefully pour the melted, scented wax into your prepared candle containers. Take care to keep the wick centered during pouring. Leave about 1-2 cm of space at the top of the container.
- Cooling and Curing: Allow the candles to cool and cure on a flat, stable surface, away from drafts, in a warm room-temperature environment. This process can take several hours to up to 24 hours, depending on the candle type and ambient temperature. Be careful not to move the candles during this stage, as it can cause cracks or imperfections on the surface.
- Finishing Touches: Once the candle has fully hardened, remove the wick holder. Trim the wick to about 0.5-1 cm above the wax surface. This ensures a cleaner and safer burn.
Scent and Color Selection
In candle making, scent and color are the most prominent indicators of your creativity. When making your selection, pay attention to the following points:
- Fragrance Oils: Both essential oils (natural plant extracts) and perfume oils (synthetic or semi-synthetic blends) are available on the market. Essential oils offer a more natural profile, while perfume oils provide a much wider range of scents and generally a stronger scent throw. Usage rates are typically 6-10% of the wax's weight, but always follow the product's instructions.
- Candle Dyes: Liquid dyes mix easily, while solid dye blocks can give more intense colors. Add the dye in small amounts, gradually increasing until you reach your desired shade. Remember, the color in melted wax will usually appear lighter once it has solidified.
Safety Tips
While candle making is enjoyable, safety is always a priority when working with melted wax and heaters:
- Never Leave Unattended: Do not leave your workspace while wax is melting or candles are cooling.
- Ventilation: Work in a well-ventilated area when adding fragrance oils or melting wax.
- Protective Equipment: Wearing gloves and an apron protects your skin and clothing from wax.
- Heat-Resistant Surface: Always cover your workspace with a heat-resistant material.
- Fire Extinguisher: Keep a fire extinguisher or blanket nearby to be prepared for potential accidents.
Common Problems and Solutions
As with any new hobby, you may encounter some challenges in candle making. Here are common problems and their solutions:
- Cracks or Pits on the Candle Surface: This usually results from the candle cooling too quickly. Allow candles to cool more slowly, if necessary, by placing them in a box or a slightly warmed room. You can correct the surface by performing a second pour.
- Weak Scent Throw: The fragrance oil addition temperature might be too high or too low, or the amount of fragrance oil used is insufficient. Add at the correct temperature and use quality fragrance oils.
- Tunneling (Candle Center Sinking): The wick diameter might be too thin for the container's width. Use a thicker wick or try placing two wicks in the same container. Allow all the wax on the surface to melt during the candle's first burn.
- Wick Extinguishing or Burning Too Quickly: The wick might not be the correct size or type. Check the recommended wick diameter for your container and wax type.
Advanced Techniques and Creative Touches
Once you've learned the basics, you can push your limits in candle making:
- Layered Candles: You can create visually stunning candles by pouring waxes of different colors and scents in layers.
- Molded Candles: You can produce candles in various shapes using silicone or metal molds. For these types of candles, the wick needs to be threaded through the center of the mold.
- Decorative Additions: You can enhance aesthetic value by adding natural objects like dried flowers, coffee beans, spices, or small seashells inside or outside the candle. However, be careful that flammable materials are not too close to the wick.
If you're interested in handmade projects, our article Homemade Soap and Cosmetics: A Creative and Natural Hobby Guide might also interest you. You might experience creative blocks from time to time during the creative process; for such situations, our article Scientific and Practical Ways to Overcome Creative Block: A Guide for Artists can inspire you.
Candle Care and Storage
Here are a few tips to extend the life of your handmade candles and use them safely:
- First Burn: When you light your candle for the first time, allow the entire surface to melt. This prevents 'memory rings' from forming and avoids tunneling.
- Wick Care: Before each burn, trim the wick to about 0.5 cm. This ensures a cleaner, brighter burn and prevents sooting.
- Airflow: Keep candles away from direct drafts (near windows, fans). This can cause uneven burning and dripping.
- Storage: Store unused candles in a cool, dry place away from direct sunlight and extreme temperatures. This prevents their colors from fading and scents from dissipating.
Handmade candle production is a hobby that requires patience and practice, but the results are extremely satisfying. It's a unique way to personalize your home's atmosphere or offer special gifts to loved ones. Don't hesitate to experiment with materials and discover your own style.
Resources
Frequently Asked Questions
Which type of wax should beginners choose for candle making?
For beginners, soy wax or paraffin wax are generally good starting points because both are easy to work with and cost-effective.
How much fragrance oil should I add to my candle?
Generally, 6% to 10% fragrance oil by weight of the wax is used. However, each fragrance oil may have its own recommended ratios, so checking the product label is best.
Why isn't the wick staying in the center of the candle?
Ensure the wick is adhered to the bottom of the container and its top is secured with a wick holder. The wick needs to be taut and centered.
Why is my candle's surface rough or cracked?
This usually results from the candle cooling too quickly. Providing a slower, more controlled cooling environment or performing a second pour to smooth the surface can help.
How long does a handmade candle burn?
Burn time varies depending on the wax type used, wick size, candle size, and environmental conditions. Soy and beeswax candles generally burn slower than paraffin.
This content was researched and prepared by the İlgi Alanları editorial team and reviewed for accuracy and readability before publication. Information on health, finance and investment topics is general in nature and does not replace professional advice.