Homemade Soap and Cosmetic Making: A Creative and Natural Hobby Guide
Discover the joy of creating your own natural and personalized soaps and cosmetic products. This hobby not only enhances your creativity but also gives you complete control over the products you use.
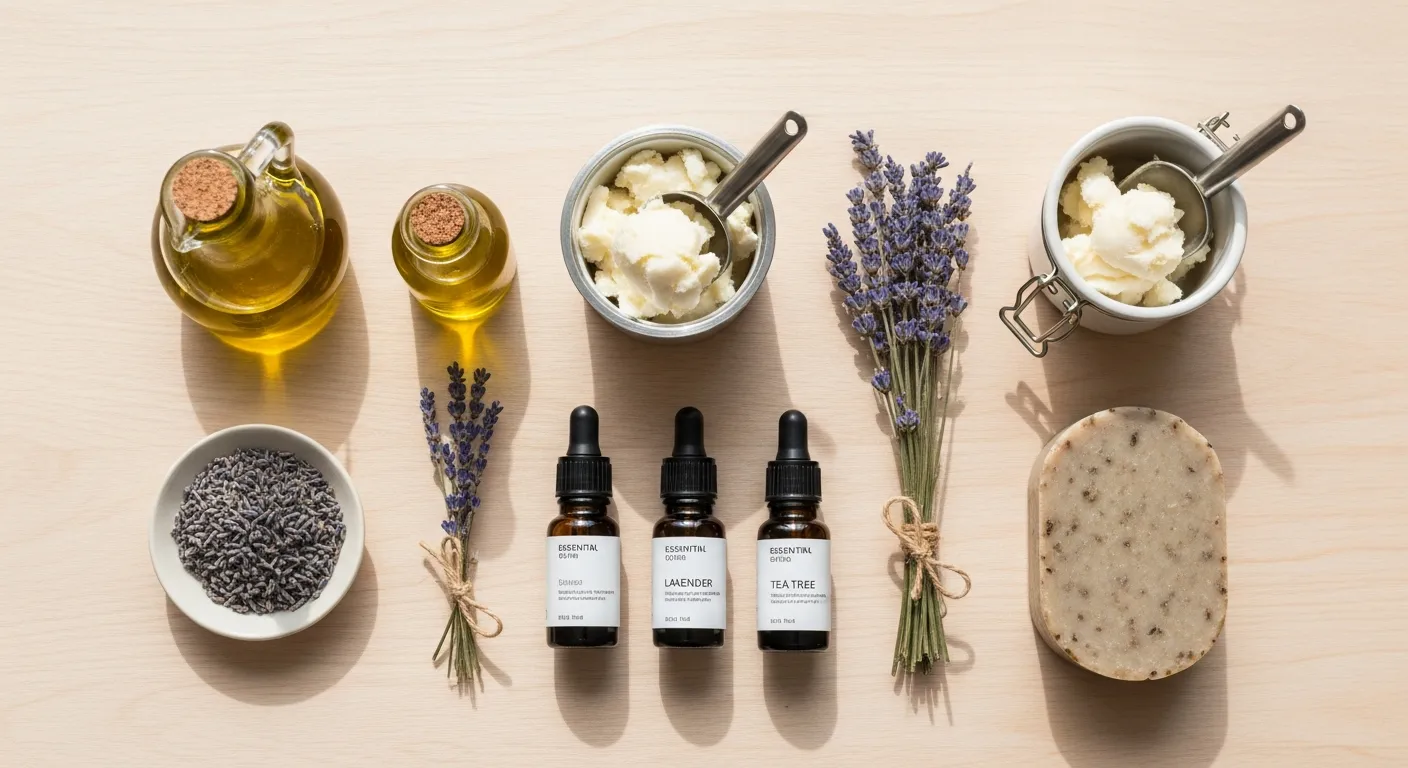
Homemade soap and cosmetic making is both a practical and enjoyable pursuit. Knowing the ingredients in the products you use, working with natural materials beneficial for your skin, and creating entirely personalized items are the main reasons this hobby is so appealing. Whether for yourself or to prepare special gifts for loved ones, this guide will help you take the first steps to set up your own workshop.This article comprehensively covers the basics of homemade soap and cosmetic making, essential materials for beginners, safety precautions, and creative ideas. If your goal is to explore natural ingredients, avoid chemicals, or simply enhance your crafting skills, you've come to the right place.## Why Make Soap and Cosmetics at Home?There are many compelling reasons to make your own soap and cosmetic products. These reasons highlight both the personal benefits and practical advantages of the hobby.* Control and Personalization: Unlike products on store shelves, when you make your own soap and cosmetics, you have complete control over all ingredients. You decide which oils, fragrances, and colorants to use, customizing formulas according to your skin type or preferences. This is a significant advantage for those with allergies or who wish to avoid certain chemicals.* Naturalness and Health: You avoid potentially harmful chemicals often found in industrial products, such as synthetic fragrances, parabens, and sulfates. You create skin-friendly products using vegetable oils, essential oils, natural clays, and other additives. This is especially important for sensitive skin.* Creativity and Therapy: Soap and cosmetic making is a true art form. Experimenting with different colors, scents, textures, and shapes nourishes your creativity. The process, requiring focus and resulting in a tangible product, can be a meditative activity. The hobby has stress-reducing and relaxing effects.* Economic Advantages: While it requires an initial investment, making your own products can be economical in the long run. It provides cost savings, especially for products used frequently or in large quantities. Moreover, you can delight your loved ones with unique, handmade gifts without straining your budget.* Eco-Friendly Approach: You can reduce packaging waste, opt for raw materials sourced from sustainable resources, and minimize your environmental impact by avoiding microplastic-containing ingredients.## Introduction to Soap Making: Basic Methods and MaterialsThere are two main methods of soap making: Cold process and melt-and-pour. Each has its unique advantages and challenges.### Cold Process: The Most Popular MethodCold process is the fundamental soap-making method and offers the most customization. In this method, a mixture of lye (sodium hydroxide) and water is combined with vegetable oils to initiate a chemical reaction called saponification. This reaction results in the formation of soap and glycerin.Advantages:* You can create your own recipe entirely from scratch.* You can control the content, hardness, lather, and moisturizing properties of your soap.* You obtain more natural and longer-lasting soaps.Essential Materials for Beginners:* Lye (Sodium Hydroxide): Indispensable for saponification. You must use PURE LYE. As it is a serious chemical, it must be handled with extreme caution.* Distilled Water: Used to dissolve the lye. Tap water is not recommended as it may contain minerals.* Base Oils: Oils with different properties such as olive oil, coconut oil, palm oil, shea butter, cocoa butter are used. Each oil contributes differently to the soap (hardness, lather, moisturizing).* Essential Oils or Fragrance Oils: To give the soap a natural or synthetic scent.* Colorants: Mica powders, natural pigments, or cosmetic dyes.* Additives: Additions like oatmeal, clay, honey, coffee grounds that are beneficial for the skin or provide an exfoliating effect.Required Equipment:* Protective Gear: Safety goggles, rubber gloves, long-sleeved clothing, and an apron.* Stainless Steel or Heat-Resistant Containers: For mixing lye and oils.* Accurate Kitchen Scale: Essential for precisely weighing all ingredients in grams.* Digital Thermometer: To monitor the temperature of the lye water and oils.* Immersion Blender (Hand Blender): To speed up the saponification process and bring the mixture to trace.* Soap Molds: Silicone molds or wooden molds.* Spatula and Spoons: For mixing and pouring.### Melt & Pour: Easy StartThe melt & pour method is ideal for beginners in soap making. In this method, a pre-made soap base, which has already undergone the saponification process and where the lye has been neutralized, is used. You melt this base, add your desired fragrances, colors, and additives, and then pour it into molds.Advantages:* Does not require direct handling of lye, making it safer.* The process is quick and easy; you get ready-to-use soaps within a few hours.* A wide variety of pre-made soap bases are available (glycerin, goat's milk, shea butter, etc.).Essential Materials for Beginners:* Pre-made Soap Base: Available in various ingredients and properties.* Essential Oils or Fragrance Oils: Optional.* Colorants: Optional.* Additives: Such as dried flowers, herbs, clay.Required Equipment:* Microwave Oven or Double Boiler: For melting the soap base.* Heat-Resistant Container: Melting container.* Soap Molds: Silicone molds are most suitable.* Spatula: For mixing.### Comparison Table: Cold Process vs. Melt & Pour| Feature | Cold Process | Melt & Pour || :------------------ | :--------------------------------------------- | :----------------------------------------------- || Difficulty Level | Medium - Advanced (Requires chemical knowledge) | Beginner (Easy and fast) || Process | Oils + Lye + Water = Saponification (Chemical reaction) | Ready-made base melted + additives added + poured into mold || Duration | Making 1-2 hours, Curing 4-6 weeks | Making 30-60 minutes, Cooling 1-2 hours || Ingredient Control | Complete control, you choose every component | Dependent on the soap base's ingredients || Safety | High safety precautions (lye handling) | Lower safety risk (lye-free) || End Product | More natural, unique, long-lasting soap | Quick, simple, less unique soap |## Getting Started with Homemade Cosmetics: Steps and ProductsCosmetic making has a slightly different approach than soap making. It generally requires more precise measurements, strict hygiene, and in some cases, the use of preservatives. However, it is still a very rewarding hobby.### Which Cosmetic Products Can Be Made?The range of cosmetic products you can make at home is quite extensive:* Lip Balm and Lipstick: With base oils, beeswax, and optional colorants.* Body Lotions and Creams: With carrier oils, vegetable butters (shea, cocoa), hydrosols, and essential oils.* Face Masks: With natural ingredients like clay, oatmeal, honey, yogurt.* Bath Salts and Bombs: With Epsom salt, baking soda, citric acid, essential oils.* Natural Deodorants: With baking soda, starch, odorless oils, and essential oils.* Scrubs: With sugar, salt, coffee grounds, and carrier oils.### Basic Ingredients and EquipmentThe materials used in cosmetic making are similar to soap making but show some differences:* Carrier Oils: Skin-beneficial vegetable oils such as sweet almond oil, jojoba oil, rosehip oil, argan oil.* Vegetable Butters: Solid fats like shea butter, cocoa butter, mango butter, which provide consistency and moisturizing properties to products.* Beeswax or Vegetable Waxes: Provide consistency and protection to products.* Essential Oils: For fragrance and therapeutic benefits (lavender, tea tree, chamomile, etc.).* Hydrosols (Floral Waters): Botanical waters like rose water, lavender water, used in water-based products.* Natural Clays: Clays like bentonite clay, kaolin clay, used in masks and detox products.* Emulsifiers: To combine oil and water-based ingredients (in lotions and creams).* Preservatives: Essential for preventing bacterial and fungal growth in water-containing products. Natural preservatives can be preferred.Equipment: Precision scale, mixing bowls, glass stirring rods, heat-resistant spatulas, beakers, sterile bottles/jars.### Hygiene and Preservatives: Non-NegotiableHygiene is vital in cosmetic making. Water-containing products, in particular, provide a suitable environment for bacterial and fungal growth. Therefore:* Sterilize all equipment and work surfaces.* Wash your hands thoroughly or use gloves.* Always use a preservative in water-based products. Research natural preservatives (for example, while vitamin E oil acts as an antioxidant in some products, it is not a broad-spectrum preservative) or seek information from reliable cosmetic raw material suppliers.* Make products in small batches and monitor their shelf life.## Safety and Hygiene: Non-Negotiable RulesIn soap and cosmetic making, safety is paramount, especially when working with chemicals like lye. General safety and hygiene rules are as follows:* Use Protective Gear: When working with lye, always wear safety goggles, rubber gloves, and long-sleeved clothing. Protect any exposed skin.* Good Ventilation: Vapors are released when lye and water are mixed. Be careful not to inhale these vapors. Ensure your workspace is well-ventilated; use an extractor fan or open a window if necessary.* Keep Away from Children and Pets: Store materials during the making process and finished products out of reach of children and pets.* Precision in Measurements: Make all measurements in recipes in grams using an accurate kitchen scale. The amount of lye, in particular, is critical for the quality and safety of the soap.* Separate Equipment: Keep containers, spoons, and other equipment used for soap and cosmetic making separate from kitchen utensils used for food preparation, and label them.* Cleanliness and Order: Always keep your workspace clean and tidy. Clean up spills immediately.## Tips and Resources for BeginnersHere are some practical tips to support you as you start this hobby:* Start Small: Begin with simple recipes using small amounts of materials for your first attempts. As you gain confidence, you can move on to more complex projects.* Follow Recipes Exactly: Especially in cold process soap making, be careful not to deviate from recipes initially. As you gain experience, you can develop your own formulas.* Research Reliable Sources: Gather information from trustworthy sources such as books, blogs, online courses, and YouTube channels. Ensure the information is current and scientifically sound.* Join Communities: Participate in online soap and cosmetic making communities to share your experiences, ask questions, and find inspiration. These communities are a great source of support for beginners.* Material Suppliers: Find reliable and high-quality raw material suppliers. The quality of your ingredients directly impacts the success of your products.* Keep Notes: For each attempt, record the ingredients, ratios, temperatures, and results you used. This will help you replicate successful recipes and learn from your mistakes.Making your own soap and cosmetic products is more than just a hobby; it offers you an opportunity to express yourself, connect more closely with nature, and develop conscious consumption habits. We wish you enjoyable discoveries on this journey!
Frequently Asked Questions
Which materials are absolutely essential for homemade soap making?
For cold process soap making, lye (sodium hydroxide), distilled water, and base oils (such as olive oil, coconut oil) are absolutely essential. For the melt-and-pour method, a pre-made soap base is sufficient.
How safe is it to work with lye? What precautions should I take?
Lye is a strong chemical and causes a burning effect upon skin contact. When working with it, you must wear safety goggles, rubber gloves, and long-sleeved clothing, work in a well-ventilated area, and keep children away.
What is the shelf life of homemade cosmetics?
The shelf life of homemade cosmetics varies depending on their ingredients. Water-based products have a short shelf life (a few weeks) if appropriate preservatives are not used. Oil-based products (like lip balm) can last between 6 months and 1 year. Freshness and hygiene are always important.
Which method is easier to start with for soap making?
The Melt & Pour method is much easier and safer for beginners than the cold process because it uses a pre-made soap base and does not involve direct handling of lye.
Can natural preservatives be used in homemade products?
While some substances like vitamin E oil act as antioxidants, it is important for health to use a broad-spectrum, certified preservative to prevent bacterial and fungal growth in water-containing cosmetic products. The effectiveness of some supposedly natural preservatives may be limited; detailed research should be conducted on this matter.
This content was researched and prepared by the İlgi Alanları editorial team and reviewed for accuracy and readability before publication. Information on health, finance and investment topics is general in nature and does not replace professional advice.